The size and layout of your duct system directly impact the efficiency of your dust collection system and its energy consumption. Undersized ducts can lead to poor dust capture and higher resistance, cutting system performance. Conversely, oversized ducts waste energy and reduce suction at the tool level. Properly sizing and optimizing your duct layout ensures efficient airflow, minimizes energy use, and maximizes dust capture.
Sizing Ducts for Maximum Efficiency
- CFM and Duct Diameter
Begin by calculating the CFM for each machine or tool, then use this value to determine the appropriate duct diameter. This ensures the system can handle required airflow without clogs. A typical woodworking machine may require ducts between 4-6 inches in diameter, but larger machines may need even larger ducts.
- Friction Loss and Pressure
Every fitting (elbows, transitions) adds friction loss, which increases system pressure. Larger duct diameters reduce friction loss but must be balanced to maintain dust velocity.
- Dust Velocity
Ensure that duct velocity is high enough to keep dust particles airborne. For fine dust, this typically requires maintaining 3,500-4,000 FPM in the ducts. For larger woodworking machines that produce coarser dust, aim for 4,000-4,500 FPM to prevent dust settling.
Core Elements of Ductwork Design
- Determine Centralized vs. Decentralized System
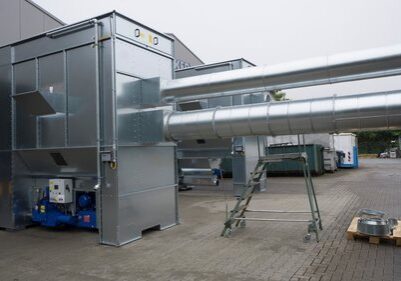
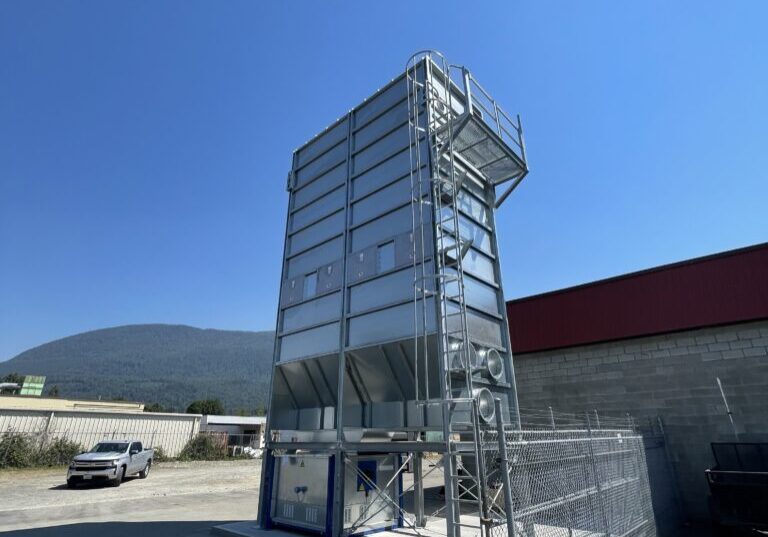
A centralized dust collection system pulls dust from all machines through a single system of ducts and filters, ideal for large shops. On the other hand, decentralized systems use individual dust collectors for specific machines or areas, offering flexibility in smaller or more specialized operations. - Optimize Path and Minimize Resistance
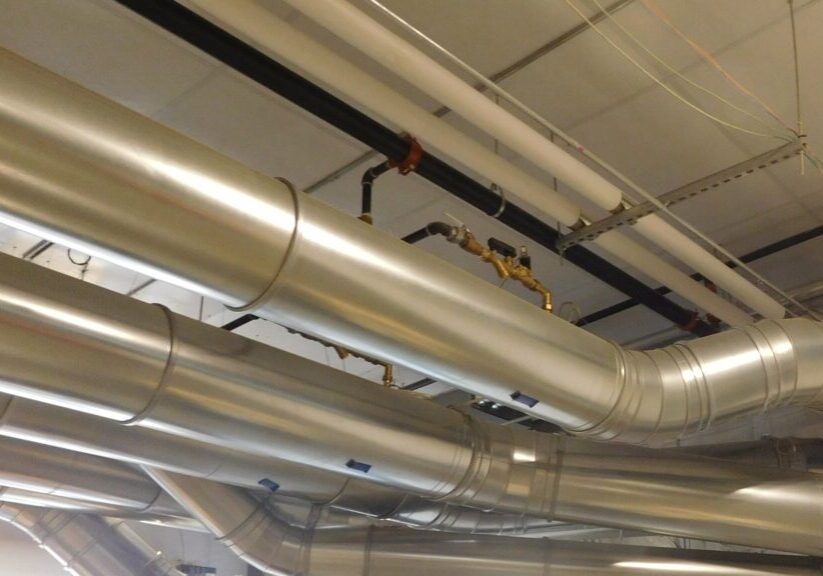
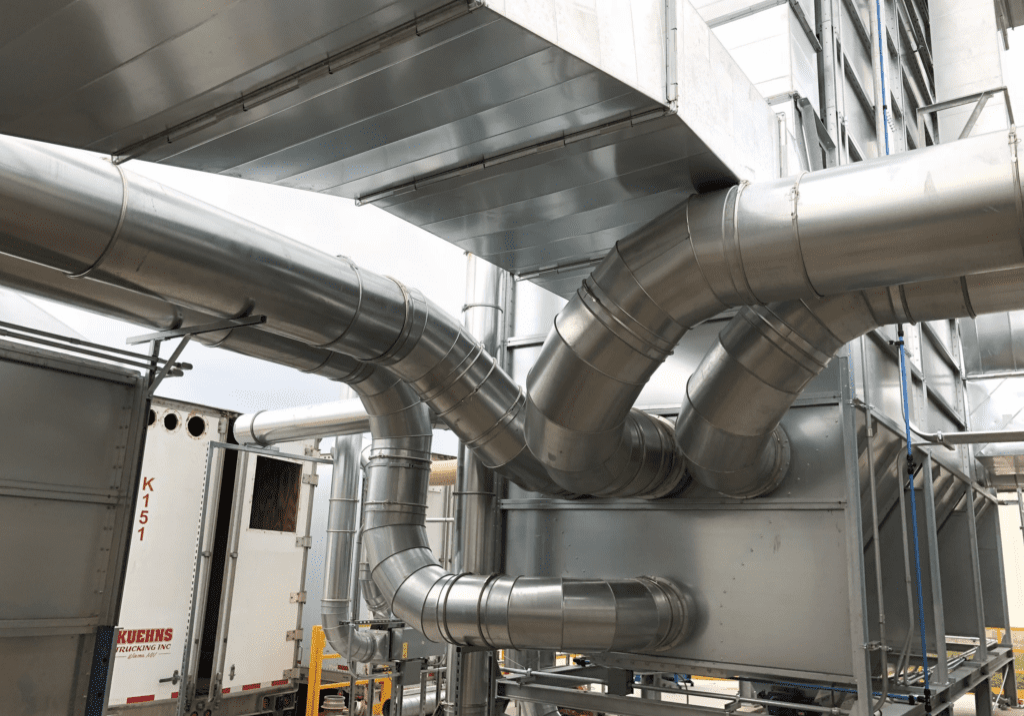
The shorter and straighter the duct path, the better the airflow and energy efficiency. Minimizing the distance between each machine and the dust collector reduces friction and static pressure losses, which can degrade system performance. Additionally, limit the use of bends and elbows, as each introduces friction. Where turns are unavoidable, engineers should use sweep elbows instead of sharp 90-degree turns to reduce pressure loss. - Use Proper Transitions
When connecting different-sized ducts, always use tapered transitions to smooth airflow and reduce turbulence. Avoid abrupt changes in duct size, which create back pressure and lower system efficiency. - Plan for Future Expansion
When laying out ducts, consider potential future needs. Adding machines or increasing dust-producing operations may require additional branches or an upgrade in the collector’s capacity. Designing with modularity in mind ensures that future modifications can be accommodated without overhauling the entire system.
 Pro Tip: When sizing ducts, use the static pressure and friction loss calculations to ensure you maintain consistent airflow. Factor in all fittings and transitions, and use flow simulation software to predict performance under varying conditions—this helps optimize layout and reduce costly inefficiencies in real-world operations.

![JB1_20171218_00084_preview[1] JB1_20171218_00084_preview[1]](https://hockeramerica.com/wp-content/uploads/bb-plugin/cache/JB1_20171218_00084_preview1-1024x576-landscape-058e06ffcab491e0754d8eabda55517c-.jpeg)
